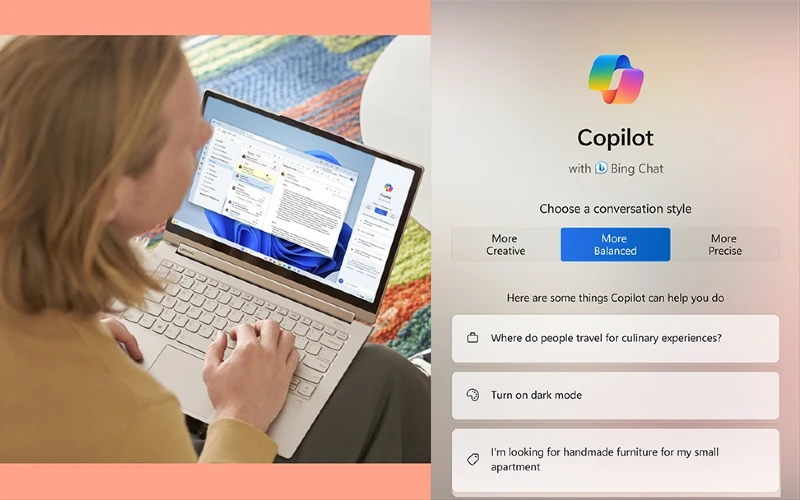
The launch of Windows 11 brought with it a series of innovations, most notably Windows Copilot, a digital assistant designed to improve the user experience. This significant addition to the operating system aims to speed up user tasks, increasing productivity and saving time. However, we know that not all users want to use this feature.
Windows Copilot was introduced as a preview in Windows 11 starting with the September 2023 Update. Initially, its availability was limited to select markets such as North America, parts of South America, and Asia, with plans to gradually expand to others markets.
The purpose of Copilot is to simplify user interactions with the operating system, offering everything from answering questions to performing advanced system tasks, providing a more efficient experience. In this tutorial, we will explore how to enable or disable Windows Copilot on your Windows 11 computer.
Enabling or disabling Copilot (traditional method)

For those who want to try or disable Copilot, the process is simple and can be done through Windows 11 settings. Follow the steps below:
Enable o Copilot:
- Open Windows “Settings”.
- Click on “Personalization”.
- On the “Taskbar” page, locate the “Taskbar Items” settings.
- Enable the “Copilot” toggle.
After following these steps, the Copilot button will appear on the taskbar, ready to be used.
Disable Copilot:
- Open Windows “Settings”.
- Click on “Personalization”.
- On the “Taskbar” page, locate the “Taskbar Items” settings.
- Disable the “Copilot” toggle.
With these simple steps, the Copilot button will no longer be present on the taskbar. However, it is important to note that even when disabled, it is still possible to access Copilot using the keyboard shortcut “Windows Key + C”.
Enabling or disabling Copilot (via Group Policy)

For Windows 11 Pro or Enterprise users, you can enable or disable Copilot through Group Policy. Let’s see how:
Enable Copilot via Group Policy:
- Open the “Start” menu.
- Search for “Group Policy Editor” and open the app.
- Navigate to: User Configuration > Administrative Templates > Windows Components > Windows Copilot.
- Right-click on “Disable Windows Copilot” and select “Edit”.
- Choose the “Not Configured” option.
- Click “Apply” and then “OK”.
After these steps, Copilot should be available on the taskbar and via the shortcut “Windows Key + C”.
Disable o Copilot via Group Policy:
- Open the “Start” menu.
- Search for “Group Policy Editor” and open the app.
- Navigate to: User Configuration > Administrative Templates > Windows Components > Windows Copilot.
- Right-click on “Disable Windows Copilot” and select “Edit”.
- Choose the “Enabled” option.
- Click “Apply” and then “OK”.
When you complete these steps, Copilot will be deactivated on your system.
Copilot is a powerful tool that can help users be more productive and creative. However, if you prefer not to use this feature, it is easy to disable it by following the steps above.


