
In this tutorial, we will show you the steps to boot into the TWRP or stock recovery from Fastboot mode. We will be sharing two different methods. Although the first method has never failed, just to be on the safer side, we have shared another method as well. So first up, let’s check out what exactly is a Fastboot or Bootloader Mode. A bootloader is a software program that tells the operating system what apps and resources it needs to start at device boot up. Along the same lines, it also allows your device to boot to Fastboot Mode or the Bootloader Mode. Yes, both these modes are the same thing.
Users generally boot their devices to Fastboot Mode to carry out a plethora of tasks. These might include unlocking the device bootloader, booting your device to TWRP, and permanently flashing the TWRP ZIP file, among others. Likewise, the need to boot your device to recovery is no hidden secret. If you are a general user, then you might be contained with the stock recovery. This in turn allows you to flash an update package via the Sideload feature, or format your device. The tech enthusiasts take this a step further and replace the stock recovery with a custom one, usually TWRP. The reason for the same is aplenty.
A Custom Recovery like TWRP allows you to carry out a plethora of tasks. For example, you could flash ZIP and IMG files, flash Custom ROMs, Magisk Modules, Substratum Themes, Xposed Frameworks, wipe various device partitions, and carry out other advanced functionalities.
However, the major issue for some arises when they wish to boot their device to TWRP or stock recovery right from the Fastboot Mode. In this regard, this guide should come in handy. Here are all the required instructions that will come help you achieve the aforementioned task, These steps are valid for all Android devices and all types of recoveries. Follow along.
How to Boot into Recovery (TWRP/Stock) from Fastboot Mode
There are two ways to boot your device into different modes, such as TWRP, Stock Recovery, Fastboot, Bootloader, and others. One way is to use the hardware buttons that are specific to each device. The other way is to use the ADB and Fastboot Commands that work for any Android device. I recommend using the Commands method because it is easier and more universal. You don’t have to remember different button combinations for different devices.
However, to use this method, you need to meet some requirements for your device. In this guide, I will show you how to boot any device to TWRP or stock recovery from Fastboot mode using the ADB and Fastboot Commands method. But before that, make sure your device meets the following criteria.
Prerequisites
To prepare your PC for the flashing process, you need to install the Android SDK Platform Tools. This will give you access to the ADB and Fastboot commands that are required for flashing.
If your device is currently running on the system, you also need to enable USB Debugging Mode on your device. This will allow your PC to communicate with your device in ADB mode. You will need this when you switch from the system to fastboot and then to recovery mode. However, if your device is already in fastboot mode, you can skip this step. [SEE ALSO: How to Enable USB Debugging on a Broken Android Device’s Screen? Here’s a Workaround]
To enable USB Debugging Mode, go to Settings > About Phone > Tap on Build Number 7 times > Go back to Settings > System > Advanced > Developer Options > Enable USB Debugging.

That’s it. You may now proceed with the steps to boot into the TWRP or stock recovery from Fastboot mode.
1: Boot your device to Fastboot
To enter Fastboot Mode, you may need to enable Debugging first. This option is found under Developer Options in the Settings menu. If you have already done this, or if your device is already in Fastboot Mode, you can skip this step. Otherwise, follow these instructions to enable Debugging and reboot to Fastboot Mode.
- Connect your device to your PC via USB cable.
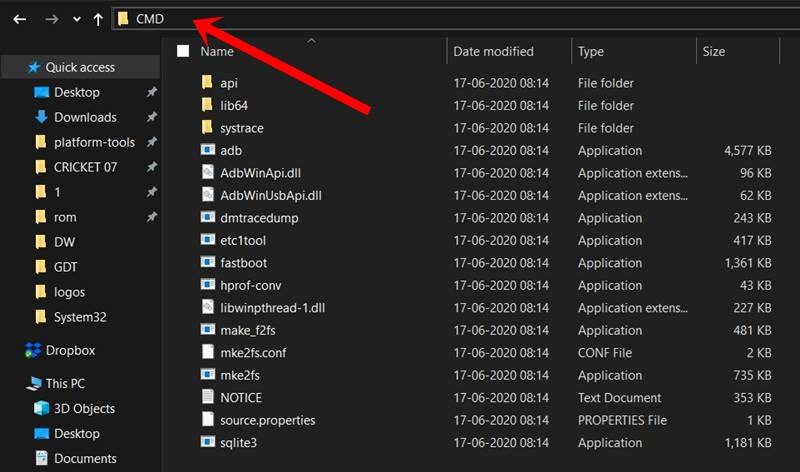
- Then head over to the platform-tools folder (where ADB and Fastboot have been installed).
- Inside the same folder, type in CMD in the address bar and hit Enter. This will launch the Command Prompt.
- Now execute the below command in the CMD window to boot your device to Fastboot/Bootloader mode:
adb reboot bootloader
- Your device will now be booted to Fastboot, its time to boot it to recovery mode (TWRP/stock). Follow along.
2A: Boot to Recovery from Fastboot via Commands
To proceed with the installation, you need to enter some commands in the Command Window. Make sure you have the correct drivers and files for your device model and Android version. Follow the instructions on the official website or the guide you are using. Be careful not to enter any wrong commands or interrupt the process, as this may damage your device or void your warranty.
- Execute the following command inside the CMD window to boot your device to Recovery Mode:
fastboot reboot recovery
2B: Boot to TWRP in A/B Partition Devices
If the previous method did not work for you, you can try this alternative solution.
First, you need to download the TWRP recovery for your device. Rename the recovery file to twrp.img and move it to the platform tools folder. If there is also a ZIP file, copy it to your device.
Some devices have A/B partitions, which do not have a recovery partition. For these devices, you need to boot your deviceto recovery from the boot partition temporarily and then install the ZIP file or IMG file permanently. The command to boot your device to TWRP recovery from fastboot is:
fastboot boot twrp.img
- The above command will just boot your device to TWRP. To permanently install it, head over to the Install section of TWRP and then flash the TWRP ZIP file.
- On the other hand, if your device is non-A/B, then it will still have the recovery partition. Hence you could directly flash the file, without booting it.
fastboot flash recovery twrp.img
2C: Flash TWRP to Boot Partition
If you have a device with A/B dual partitions, such as Mi A3, you need to follow a different method to boot to TWRP Recovery. This method involves flashing the TWRP file to the boot partition first and then booting to TWRP from Fastboot.
After that, you can flash the TWRP ZIP file to install TWRP permanently. Here are the steps you need to take (remember to rename the recovery IMG file to twrp, so the full name is twrp.img):
- Place this twrp.img inside the platform-tools folder and launch the CMD window inside this folder
- Now use the below command to flash the TWRP IMG file to the boot partition:
fastboot flash boot twrp.img
- Then directly boot your device to TWRP Recovery, either via Hardware keys or the below command
fastboot reboot recovery
- If you need to decrypt the data partition, then go to Wipe and select Format Data, otherwise is no need to wipe the data.
- Now transfer the TWRP ZIP file to your device by any of your preferred methods.
- Then go to Install, select the TWRP ZIP file, and perform a right swipe to flash it.
- You may now reboot to the OS via Reboot > System.
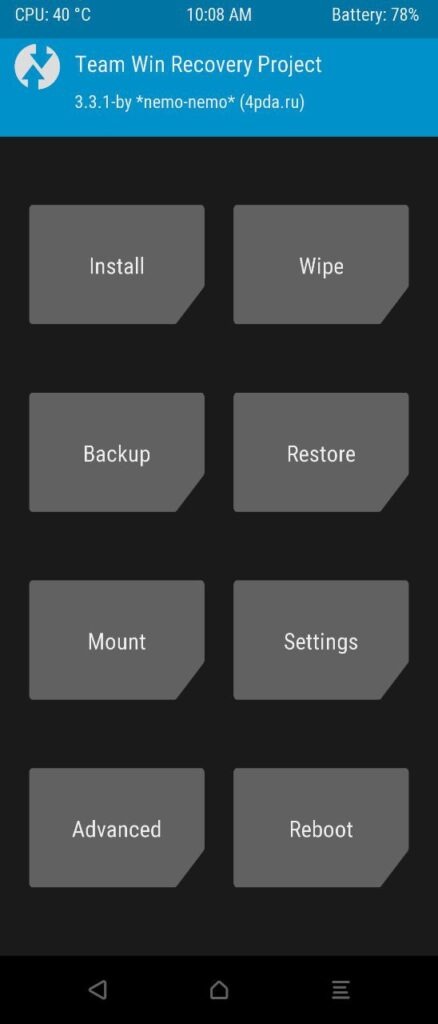
You have successfully entered the recovery mode. You can use the TWRP or stock recovery options from here. This was the tutorial on how to boot into the recovery mode from Fastboot mode. If you need any help with Fastboot or ADB commands, or any other boot commands, please leave a comment below.